The first equipment you will need is an Arduino UNO or compatible device. Here are photos of my Arduino which is smaller than the normal Arduino UNO. This is a clone Arduino. Arduino's come in many different packages, shapes and sizes. Choose which bests works for your situation.
I bought the small board on the left from http://www.adafruit.com/ and the red board connected is the USB to
Arduino board I bought from http://www.sparkfun.com/products/9716
The board on the right is just a block of LED's and a pushbutton connected to the Arduino as outputs and inputs.
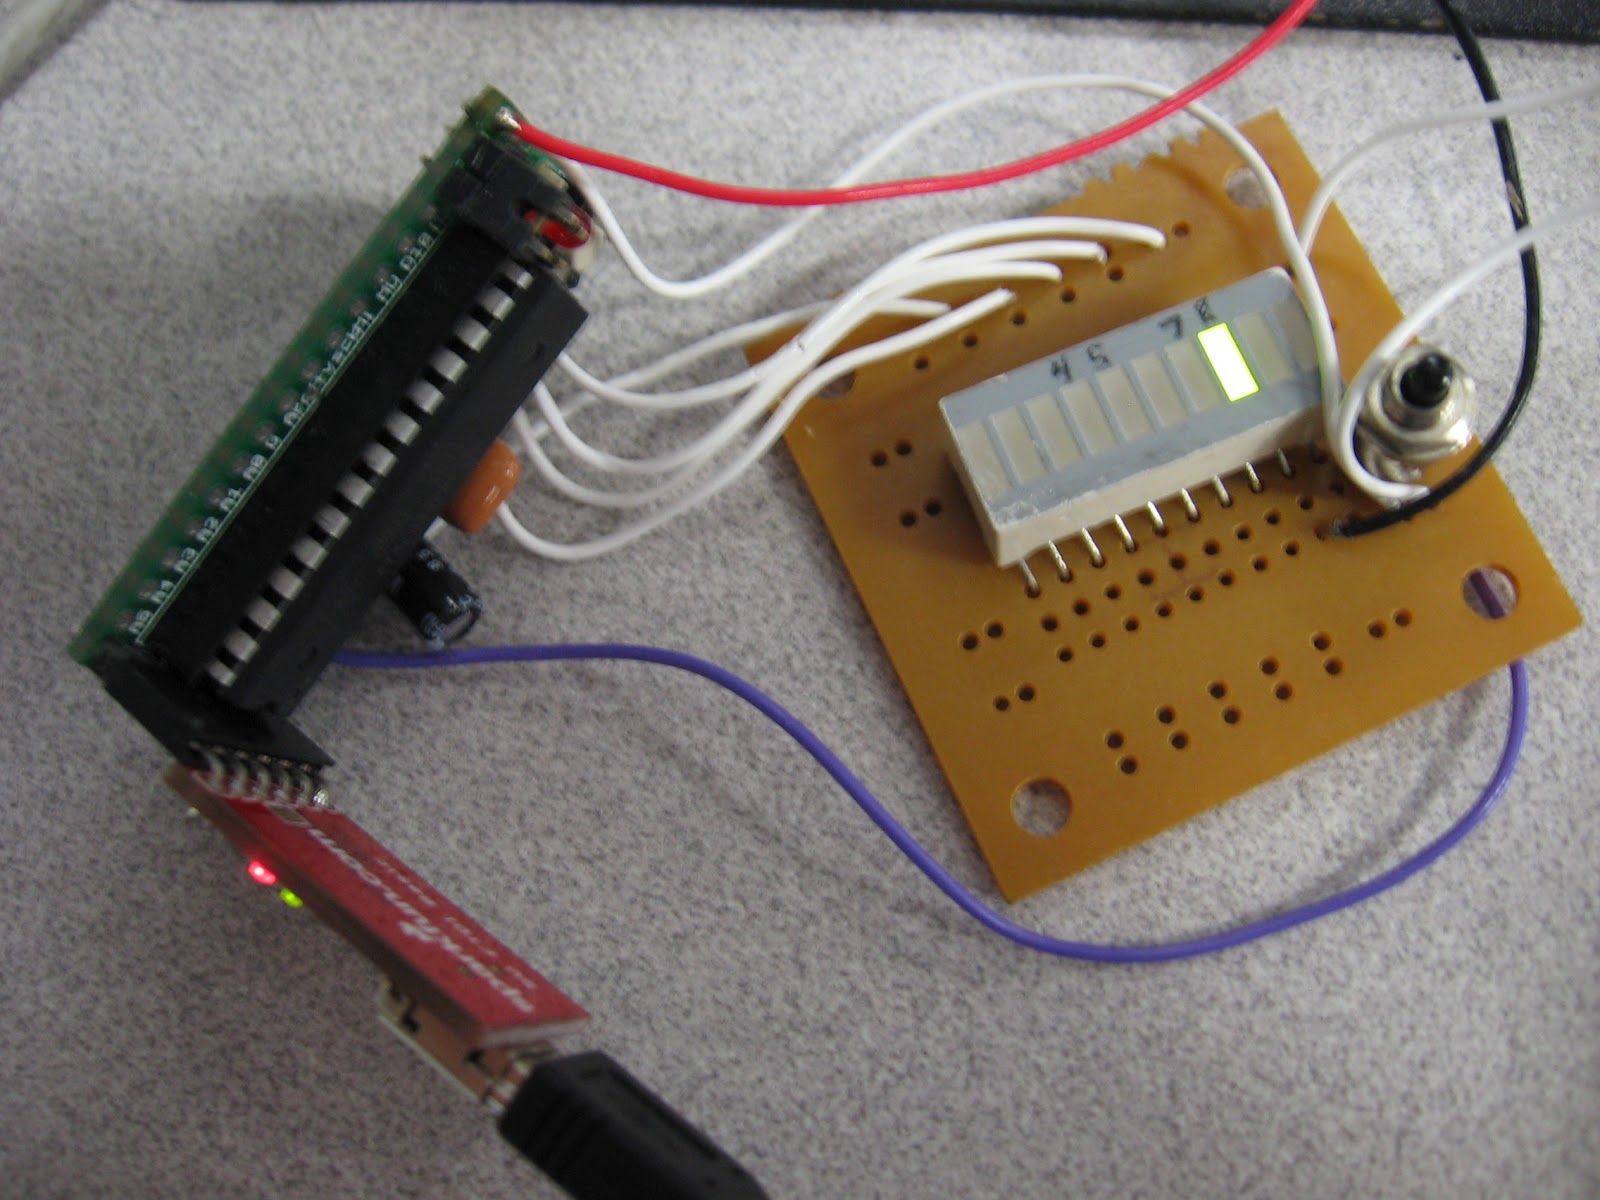
I used the USB board and connected it to a proto-board with a 10uf and 16MHz ceramic resonator which creates an Arduino compatable device.

 |
| UNO R3 |
All of these devices can be used to interface with LabView.